

Buying Guides
How to Fit a Recessed Door Mat

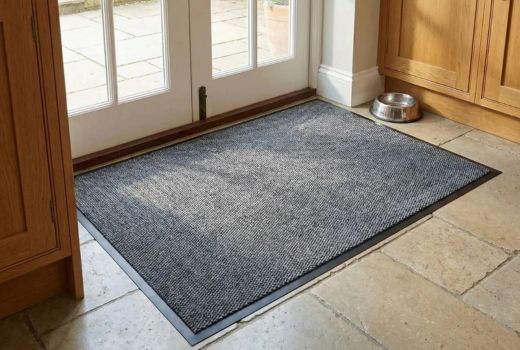
Recessed door mats keep your entryway tidy and safe by fitting flush with your floor. If you have an existing matwell or frame, installing coir matting or a rubber-backed carpet mat is a straightforward DIY project. Follow these clear steps to achieve a neat, durable finish.
What You’ll Need
-
Measuring tape
-
Marker or chalk
-
Straightedge or ruler
-
Sharp utility knife
-
Vacuum cleaner or broom
-
Plywood or leveling compound (optional)
-
Double-sided carpet tape or adhesive (optional)
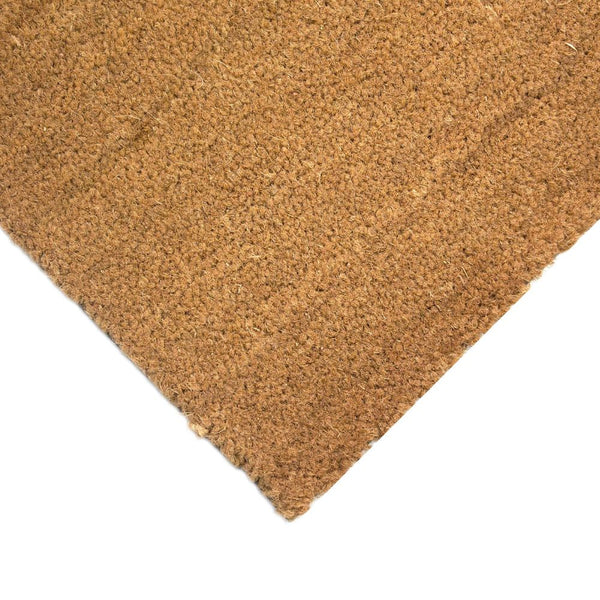
17mm Premium Coir Coconut Matting - Cut to Size
The 17mm Premium Coir Coconut Matting is the gold standard for natural entrance matting. Crafted from 100% natural coconut husk fibres on a tough PVC backing, it combines rustic charm…
- Custom-Fit Matting: Cut to length for a precise fit.
- Highly Durable: Made from tough, 100% natural coconut husk fibres.
- Strong PVC Backing: Securely fits into mat-wells, preventing movement.
- Superior Absorbency: Highly rated for moisture retention, keeping floors dry.
From £150.60 + VAT
Step-by-Step Guide
Step 1: Measure Your Matwell

-
Measure the length, width, and depth of the matwell.
-
Measure at multiple points, as floors are rarely perfectly square.
-
Note the largest measurements for each dimension.
Step 2: Prepare the Recess
-
Remove any old mats and debris.
-
Vacuum the recess thoroughly.
-
Check that the base is flat and even.
Step 3: Adjust the Height (if Needed)
-
If the matwell is deeper than your mat, add plywood (for wooden floors) or a leveling compound (for concrete floors).
-
Cut plywood to fit neatly into the recess and secure it if using wood.
-
Allow leveling compound to fully dry if used on concrete.
Step 4: Mark the Mat for Cutting

-
Flip your new mat upside down so the backing faces up.
-
Use your measurements to mark cut lines on the backing.
-
Use a straightedge to ensure lines are straight.
-
For irregular shapes, cut slightly oversized and trim gradually.
Step 5: Cut the Mat

-
Place a cutting board or plywood underneath.
-
Use a sharp utility knife and straightedge to score along your lines.
-
Cut carefully, applying steady pressure.
-
Make multiple passes rather than cutting through in one go.
-
Trim edges cleanly to avoid fraying.
Step 6: Test Fit the Mat

-
Place the cut mat into the recess, carpet-side up.
-
Check for fit and height alignment.
-
If too tight, remove and carefully trim small amounts.
-
If gaps appear, consider recutting from a larger piece if possible.
Step 7: Secure the Mat (Optional)

-
If the mat moves, apply double-sided carpet tape or adhesive beneath.
-
Use just enough adhesive to hold the mat securely.
-
A few strips of carpet tape or small adhesive dabs in corners usually suffice.
Step 8: Finishing Touches

-
Vacuum the installed mat to remove debris.
-
Trim any loose threads or fibers with scissors.
-
Test door clearance to ensure doors open smoothly.
Tips for a Professional Finish
-
Keep blades sharp to ensure clean, safe cuts.
-
Use chalk rubbed along matwell edges to create an exact outline on the mat backing.
-
Always cut slightly oversized first—you can always trim more.
-
Check door clearance before finalizing installation.
Caring for Your Recessed Mat
-
Regularly vacuum to remove dirt.
-
Periodically lift and clean beneath the mat.
-
If secured lightly, mats can easily be removed for washing or replacement.
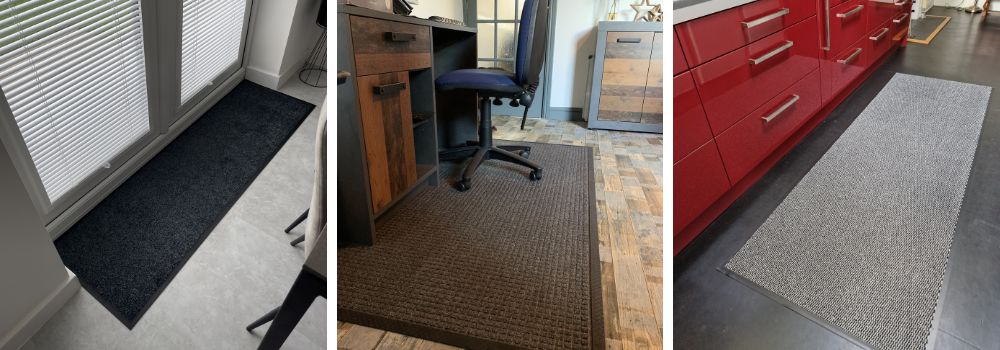
With these clear steps, your recessed mat will look professional, stay secure, and effectively keep your home cleaner and safer. If you don't have your matting yet, please see our range of matwell mats or our premium coir matting to find the perfect mat for your floors.

23mm Thick Premium Coir Coconut Matting
The 23mm Premium Coir Coconut Matting is designed for entrances with deeper mat wells and floor recesses, where a standard mat simply won’t sit flush. Made from 100% natural coconut…
- Extra Thick Design: 23mm thickness ensures a snug fit for deeper mat wells.
- Highly Durable: Made from tough, 100% sustainable coconut husk fibres.
- Superior Absorbency: Rated 5/5 for retaining moisture and keeping floors dry.
- Excellent Dirt Collection: Soil resistance rated 5/5 to trap dust and dirt.
From £215.96 + VAT