

Buying Guides
How To Cut Coir Matting
Need to know how to cut Coir Matting? Our handy guide will help you with detailed instructions and pictures. Coir Matting is easy to cut and install, learn how today!

So you’ve just bought a piece of Coir Matting. Maybe you are replacing an old, tired looking mat that has been there since you moved in, or perhaps it’s a brand new floor area looking for an attractive floor mat to finish it off. Either way, there’s a good chance that you will need to cut your matting in order to make it fit. Fortunately, cutting Coir Matting is easy.
To cut your Coir Matting, follow the simple steps below;
- Measure the area where you’ll fit the mat
- Turn your new piece of Coir Matting upside down
- Mark the measurements on the back of the mat
- Cut with a Stanley Knife or similar
- Place the mat into its new home, trim if needed
For more detailed instructions with pictures, scroll down for the guide.
Step 1
Before doing anything else, it’s important to get accurate measurements in the place where you intend to place your Coir Matting. Make sure you take several measurements as Porches and Mat wells often aren’t as square as they look, so take a few measurements along the length of the area just to make sure.

Step 2
When you have an accurate set of measurements, turn the mat upside down so that the PVC backing is facing you. Mark your measurements on the mat using a Biro or other pen that leaves a visible mark.
Tip: Remember that if cutting an unusual shape, you’ll need to “flip” the measurements for when you turn the mat the right side up.

To help you cut along the mat, you can either use a metal ruler to cut along or you can mark a cutting line using the straight edge. If you don’t have a metal ruler, then use anything that is heavy and has a straight edge (in this picture, we have used a shelf!)

Step 3
Now with your line marked, carefully cut along the back of the mat. Although the mat will be at least 17mm thick, you’ll only need to cut through the PVC backing so it won’t be too difficult. When you have cut through the backing along the entire length of the mat, carefully pull the two pieces apart (you may need to run the knife through it a couple more times to cut through the tangled coir fibres)
Tip: Even though you are just cutting through the backing, make sure you are not working on a surface that can be easily damaged if the knife cuts all the way through.

Step 4
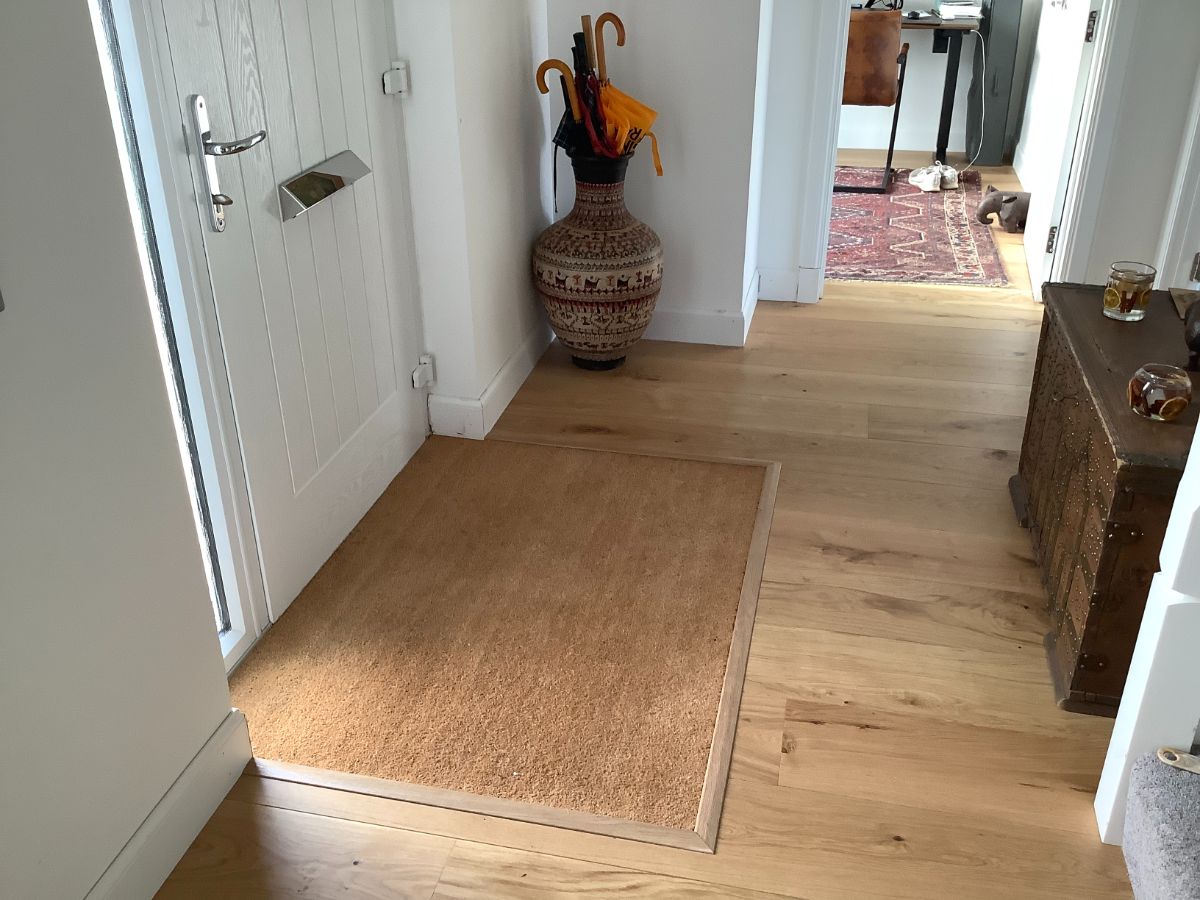
Place your mat into its new home. Hopefully it’ll be a perfect fit but if not, you can trim the edges as needed.
And that’s it! Your new Coir Mat is fitted and ready to use. You can use a few spots of adhesive on the backing if you wish, but in most cases this isn’t necessary.
Tip: Being a natural material, Coir does tend to shed a few fibres when new. Vacuum over the surface after fitting the mat to remove most of the loose fibres.

Any questions?
You can contact our customer services team for support anytime you need, simply give us a call on 0121 702 1659 or drop us an email with your questions.
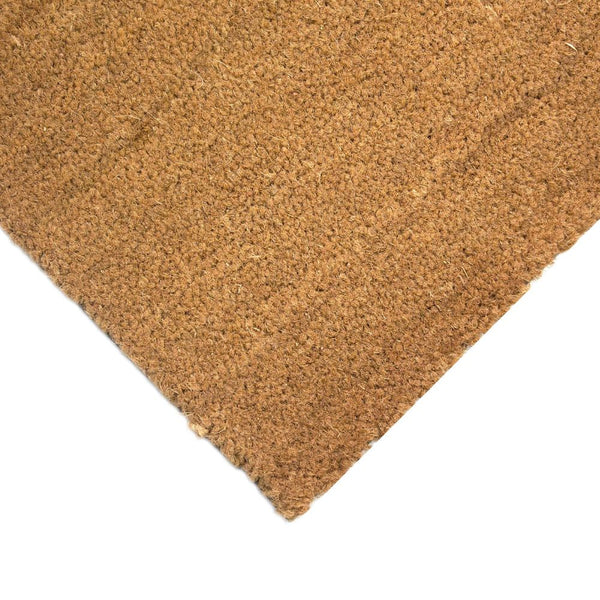
17mm Premium Coir Coconut Matting - Cut to Size
The 17mm Premium Coir Coconut Matting is the gold standard for natural entrance matting. Crafted from 100% natural coconut husk fibres on a tough PVC backing, it combines rustic charm…
- Custom-Fit Matting: Cut to length for a precise fit.
- Highly Durable: Made from tough, 100% natural coconut husk fibres.
- Strong PVC Backing: Securely fits into mat-wells, preventing movement.
- Superior Absorbency: Highly rated for moisture retention, keeping floors dry.
From £150.60 + VAT
Thank you for reading. If you haven’t ordered your Coir Matting yet, please see our product page here for more info and prices - https://www.firstmats.co.uk/collections/coir-matting