Buying Guides
How to Lay Interlocking Industrial Mat Tiles: Edges, Orientation and Installation Basics

Received a stack of interlocking mat tiles and not sure which side goes where? That is usually the part that slows installation down. In workshops and production areas, the real challenge is not laying the tiles themselves. It is planning the layout so the borders finish neatly, edge pieces line up properly and the final area works around benches, machines and walkways.
This guide focuses on those practical decisions. It applies to First Mats interlocking industrial mat ranges such as Heavy Duty Interlocking Anti Fatigue Mat Tiles, Oil Safe Interlocking Mat and Heavy Duty Modular Workshop Mats, where tiles join together to make up a loose-laid mat area. Always check the instructions supplied with the specific product first, because connector shape, thickness, edging options and any site limits can vary by range.
If you are still comparing options, it may help to look at the interlocking mat range before you plan the layout.
Check the floor before you start
Start with the floor, not the tiles. Interlocking mat tiles need a clean, dry and reasonably level surface so the joints can sit flat and stay fully engaged. Dirt, swarf, loose debris or moisture under the tiles can leave high spots, rocking sections or gaps at the joins.
Before opening everything out across the area, check:
- the subfloor is swept and free from debris
- the surface is dry enough for the product being installed
- there are no obvious hollows, ridges or damaged patches that could affect fit
- the planned area is suitable for that mat range and its intended use
This is also the point to confirm any product-specific limits. Some ranges may be better suited to dry production spaces, while others may be intended for areas where oils or workshop contamination are more likely. Do not assume all interlocking industrial mats fit in the same way or suit the same environment.

Plan the layout before joining any tiles
The neatest installations usually come from a few minutes of planning first. Decide where the mat field starts and ends, which borders will be exposed, and whether any visible sides need bevelled edging.
Choose the best starting point for the area
There is no single correct place to begin. In many workshop and factory layouts, starting from a straight wall, a bench line or a clean corner gives the simplest result. That approach helps keep rows square and reduces awkward cuts.
If the area is broken up by posts, machine legs or access routes, you may get a tidier finish by setting out from a reference line that balances cuts across the visible sides. That does not mean a centre-out layout is standard. It is just one option when the space shape makes edge-first planning look untidy.
Look at exposed borders early
Mark where the mat will finish into walls, under benches or against fixed equipment, and where it will finish into open pedestrian or trolley traffic. That decision affects whether you leave a plain tile edge or fit perimeter edging.
As a practical rule, an unfinished perimeter may be acceptable where the border is contained and not acting as a transition point. Bevelled edging is usually the better choice where people or wheeled traffic approach an exposed edge. Check the instructions for the specific mat range before deciding, because edging options and recommendations can differ.
Understand the connector orientation first
Most installation mistakes happen with the first tile. If that tile faces the wrong way, later rows may not accept the next tile correctly, and edge strips or corner pieces may end up on the wrong sides.
Some installers describe the interlocks as male and female sides. If your product instructions use different terms such as tabs and loops, lugs and receivers, or similar connector language, follow that wording consistently on site. What matters is identifying which sides project out and which sides receive the next tile.

Set the first tile deliberately
Lay one tile down and identify all four sides before you join anything else. Then decide which sides need to face outward so the rest of the field can build in the direction you want. Also check which exposed sides may later need edge strips or corner pieces. If you skip that step, you can build several rows only to find the perimeter accessories no longer match the outer edge.
Dry-lay a small section first
It often helps to lay out a few tiles without fully committing the whole area. Build a small section in the intended direction and check that rows stay square, joints sit flat and perimeter pieces match the exposed sides as expected. That quick check can save rework later.
Heavy Duty Interlocking Anti Fatigue Mat Tiles are one of the ranges where clear orientation and border planning matter before you build out the full area.
Heavy-Duty Interlocking Anti-Fatigue Mat Tiles
First Mats recommendationThe Heavy-Duty Interlocking Anti-Fatigue Mat Tiles are designed to provide cushioned comfort in the most demanding industrial settings. Whether you're working in wet or dry areas, these mats help reduce…
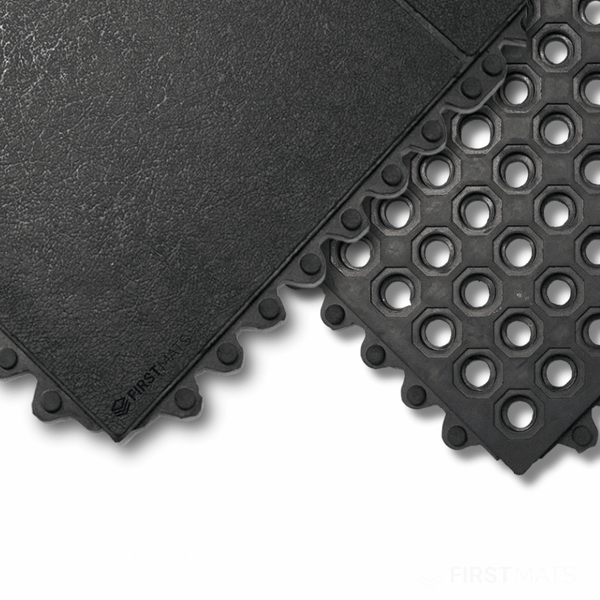
- Durable and Resilient: Built for industrial use and high-traffic areas.
- Interlocking Design: Connect tiles for a modular, seamless surface.
- Temperature Resistant: Withstands up to 130°C, suitable for hot materials.
- Slip Resistance: Rated DIN 51130, R10 for superior safety.
From £14.89 + VAT
When you test-fit a few tiles, keep an eye on doorways, walkways and the approach to workstations. These are the places where a tidy edge detail usually matters most, especially if the mat field stops in open space rather than under equipment.
When to use edging and corner pieces
Edging is not automatically required on every side, and it is not something you should leave out by default either. The right choice depends on how the mat border will be used.
When no edging may be fine
A plain perimeter can be workable where the outer edge is not exposed to normal foot traffic or wheels. Common examples include matting that finishes against a wall, continues under a bench line, or sits within a contained workstation footprint where the edge is not acting as an entry point.
When bevelled edging is the better option
If the mat ends in an open access area, a bevelled edge is often the neater and more practical finish. This is especially relevant at the ends of bench runs, on approach routes into a work area, or anywhere a trolley or person may cross onto the mat from the surrounding floor. Use the edge strips and corners intended for that product range so the connectors line up properly.
Match corners to the correct sides
Corner pieces only fit properly when the adjoining edge pieces are on the correct sides of the mat field. This is why the first tile orientation matters so much. Before final assembly, check that the chosen corner pieces correspond to the connector layout on both adjoining sides.
Oil Safe Interlocking Mat is another range where it makes sense to think about perimeter use and exposed transitions before fixing the layout direction.
Oil-Safe Interlocking Anti-Fatigue Mat
First Mats recommendationOil-Safe Mats: Enduring Comfort & Safety Heavy-Duty Rubber Construction: Crafted from a durable blend of natural rubber and 25% NBR, these mats are built to withstand the rigours of industrial…
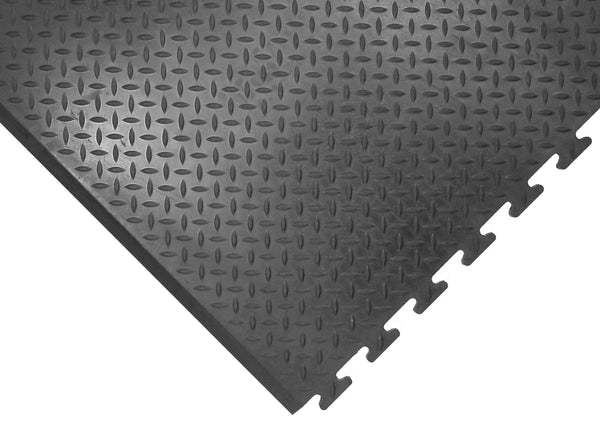
- Durable Construction: Made from natural rubber with 25% NBR for heavy-duty use.
- Oil and Grease Resistant: Designed to withstand industrial spills.
- Customisable Layouts: Interlocking tiles allow for flexible configurations.
- Anti-Fatigue Support: Rated 5/5 for reducing worker fatigue.
From £38.55 + VAT
If the area includes open borders on more than one side, fit and check one full corner arrangement first. That gives you a clear view of how the border will finish before you repeat the pattern around the rest of the installation.
Fitting around benches, posts and equipment
Factory and workshop spaces are rarely empty rectangles. You may need to stop short of machine bases, work around uprights or leave space around fixed legs. Plan these interruptions before you commit the whole tile field.
Where cutting is allowed for the product, measure carefully and keep cuts neat. Poor cuts can leave weak-looking borders, uneven joins or awkward edges around the obstacle. If the product instructions do not clearly permit on-site cutting, check before proceeding rather than assuming it is fine.
Avoid forcing a layout to land perfectly around every obstacle if that creates narrow slivers at the perimeter. In many cases, it is better to adjust the field slightly so visible edges stay cleaner and the smallest cuts are tucked away under benches or behind equipment.
Heavy Duty Modular Workshop Mats may suit installations where you want to build up a defined work area around benches or workshop stations.
Heavy Duty Interlocking Workshop Mats
First Mats recommendationHeavy Duty Mats: Unmatched Durability & Safety Heavy-Duty Durability: Crafted from a robust mix of SBR and Nitrile rubber, these workshop mats withstand the rigours of industrial use while offering…
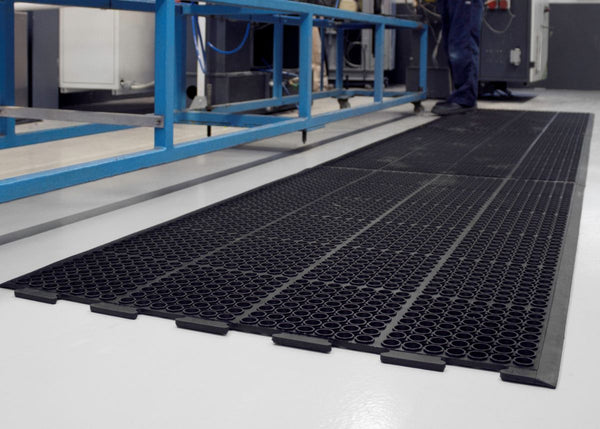
- Robust Material: Made from SBR and Nitrile rubber for heavy-duty use.
- Oil and Grease Resistant: Ideal for industrial and food production environments.
- Interlocking System: Flexible layout options for any workspace size.
- Anti-Fatigue Comfort: Provides excellent support, rated 4/5.
From £82.96 + VAT
Once the main field is down, walk the full perimeter and check that any trimmed areas still leave a clean border and do not create raised or loose sections around legs, posts or fixed structures.
Final checks before handing the area over
Before the area goes into use, make a final pass around the installation. Look for practical issues rather than just appearance.
- all tile joints are fully engaged
- the surface sits flat without rocking sections
- rows remain square and aligned
- edge strips and corners are attached to the correct sides
- exposed borders do not create avoidable trip points
- cut sections, if used, are neat and stable
If a section does not sit flat, lift it and check the floor beneath, the connector engagement and the tile orientation before moving on. Small alignment errors are easier to correct straight away than after the whole area is in service.
If connector confusion is delaying your team, the simplest fix is to stop after the first few tiles and confirm the direction of the whole perimeter before you continue. That one check usually prevents the messiest installation mistakes.